Article Dedication
In honor of
Robert Crumb & Larry Fink
<><><><>
Taken in part from the chapter on Dye Stability Tests for Color Imaging Media from Volume 12 – Chapter 3 of the Encyclopedia of Photographic and Fine Art Ink Jet Printing Media by Daniel D. Teoli Jr.

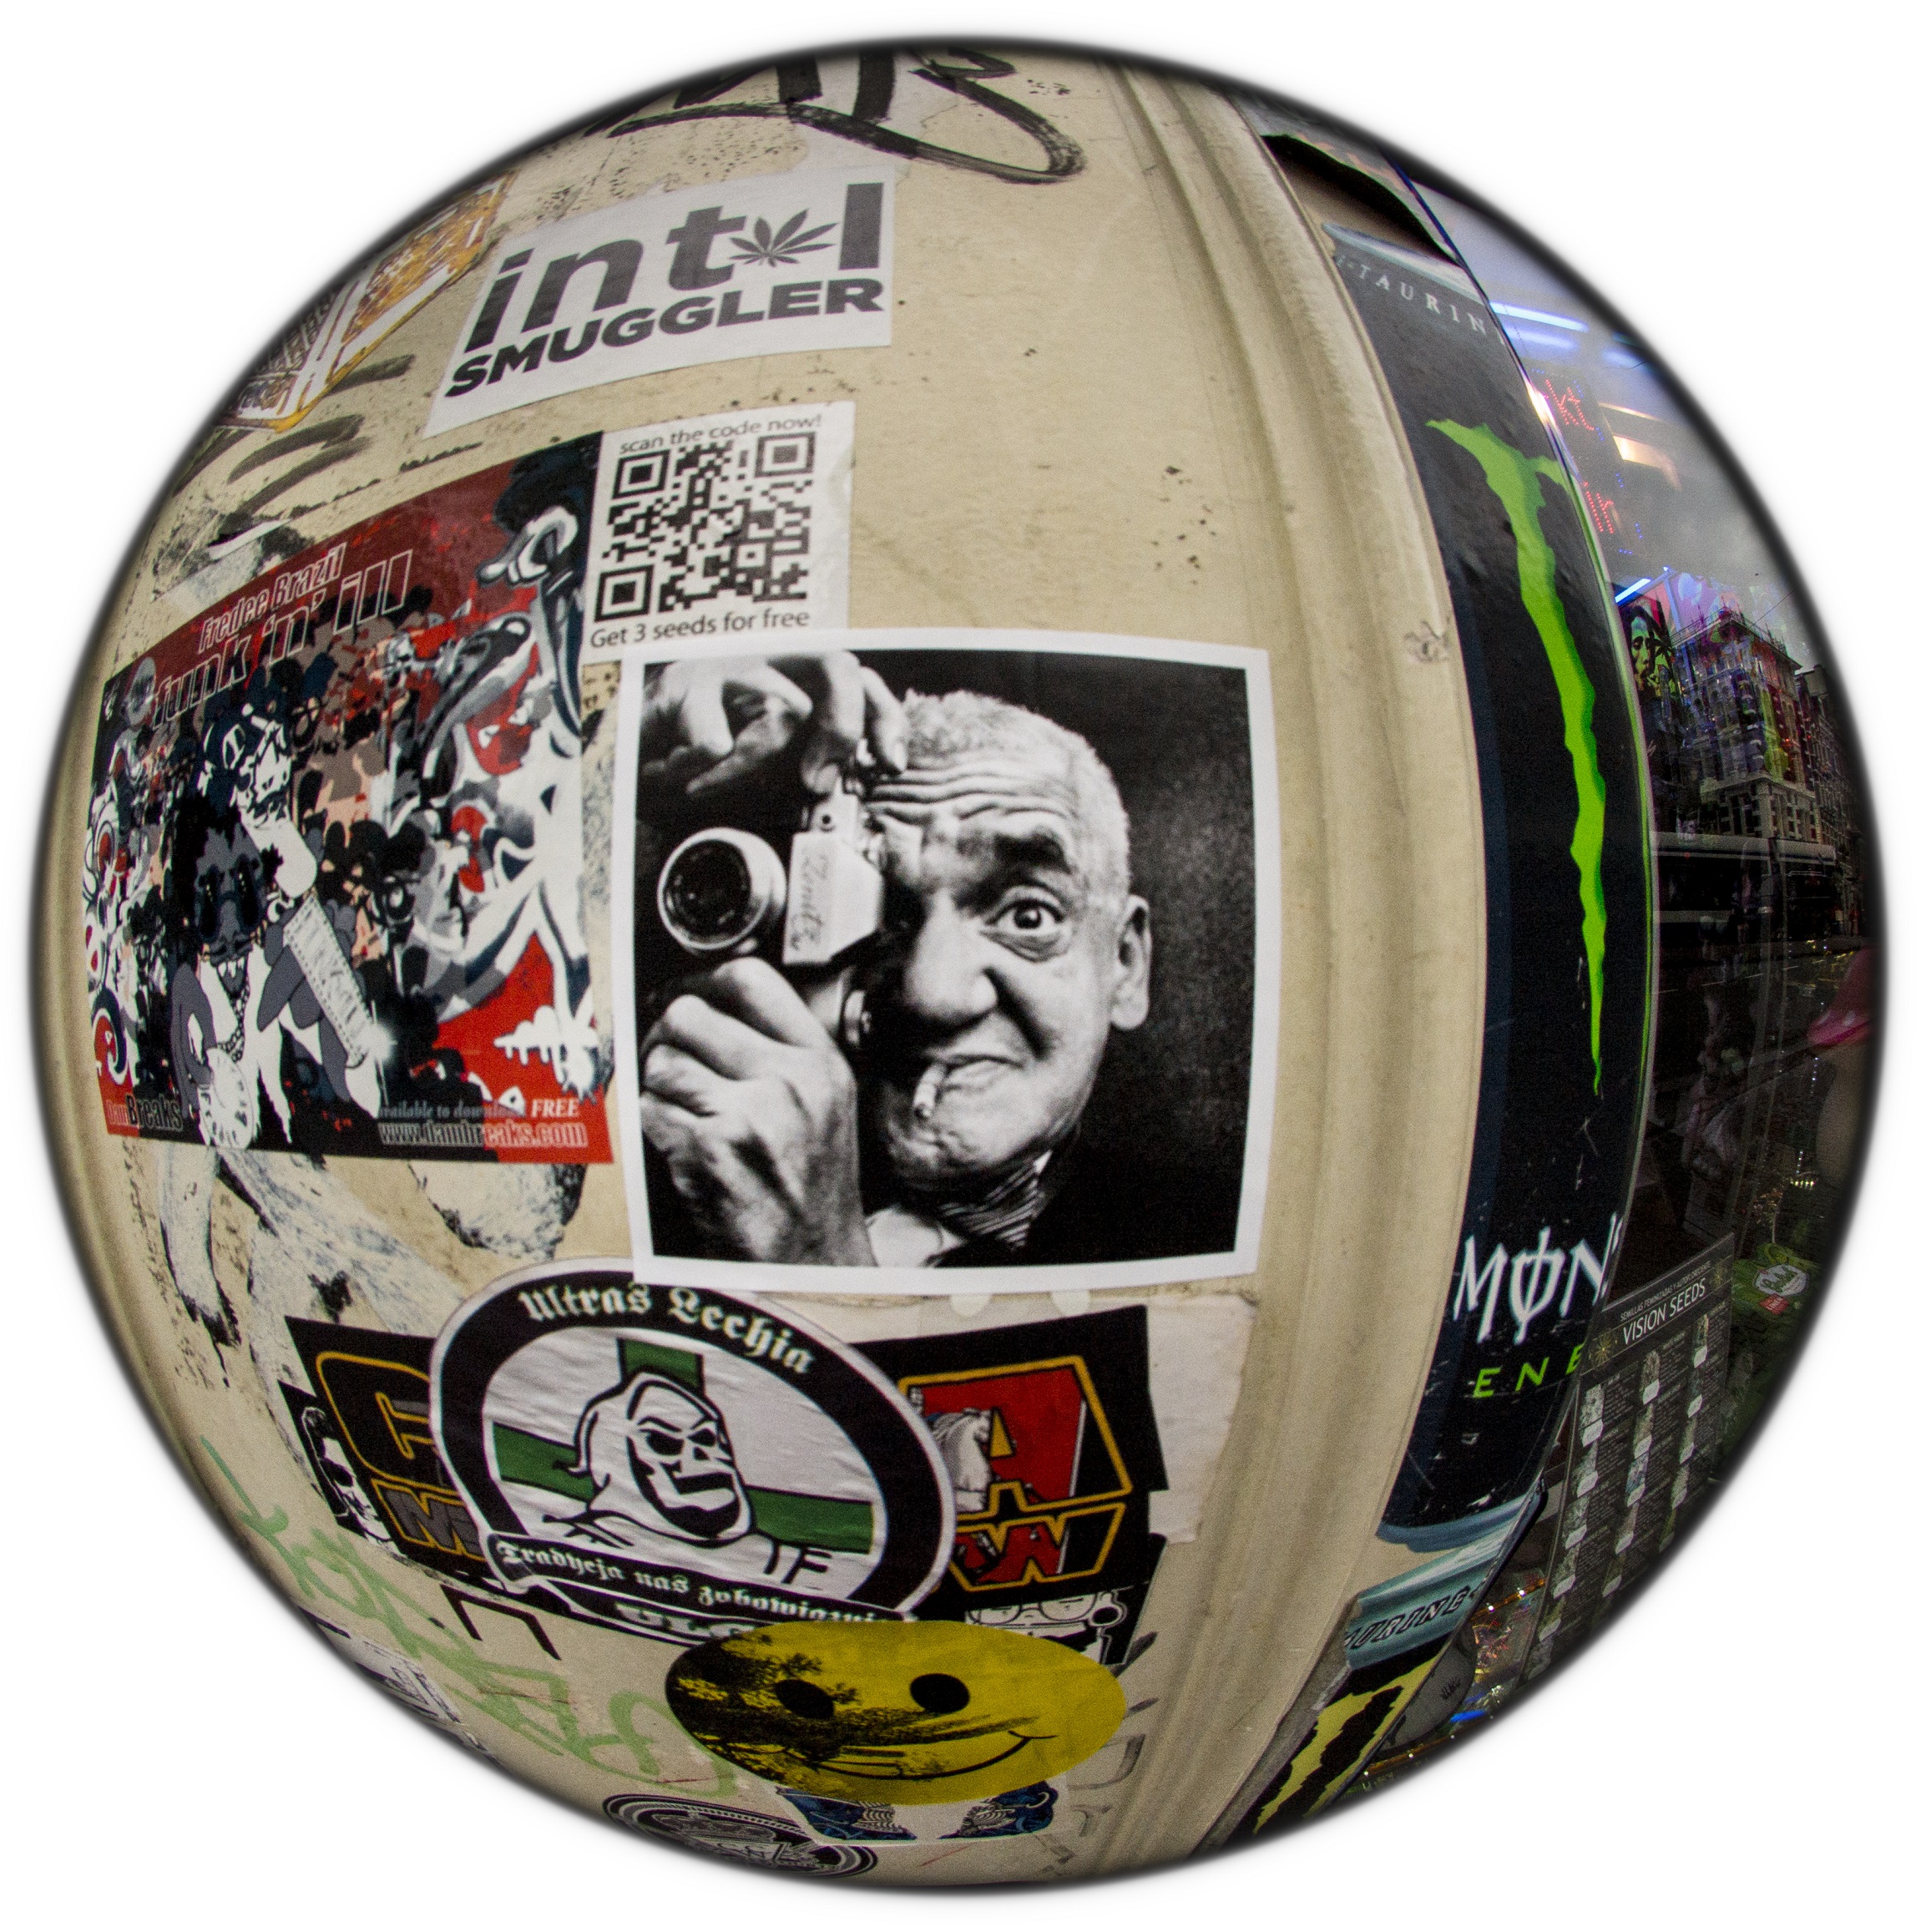
Homage to Weegee – Cigarette Caught in Mid Flight ~ Hollywood, CA 1974
The image pictured above is from a scan of an 8 x 10 work print made in 1974 that was supposed to be trashed. The work print escaped the trash can by mistake and somehow survived 38 years hidden from sight as a bookmark.
The original negative to the image as well as any final silver gelatin prints I had made were all lost in a flood. So the work print was all I had to work with to recover the image.
When I found the work print I was able to get a usable digital image from scanning it and some Lightroom adjustments. But the original work print was of poor quality and had mottled shadows and blacks….that was why is was headed for the trash can.
Many digital photographers I talk with tell me they seldom make prints. They just view their work on the monitor or on digital photo frames. This ‘no prints required’ method is one of the benefits digital photography can provide us.
But, this benefit would also work against the digital photographer if they would ever lose their digital masters. The lack of a physical negative / chrome is one of the shortcomings of digital imaging when it comes to preservation. But, we can come close to the benefit of film with a 4 x 6 (or optimally a letter size) master print.
The first line of defense for the digital photographer is to shoot flash cards like film and save them. I have had numerous circumstances where I had to reference the original files on the cards. If I didn’t save the cards I would have not had the image.
When it comes to prints, with a high grade scan of our master print we can always recover 90% of the original image if we would ever lose our digital or film master. The master print for the digital photographer is what the physical negative is for the film photographer.
Inkjet film also offers a film backup of our digital files. You can print negatives or positives on large format film and contact print or scan the film if you ever need a print.
Here are some options for inkjet film:
Arista II OHP Transparency Film 7 mil E.U. 2013
Bergger PN100 OHP Digital Darkroom Film France
Grafix Transparency Sheets
Inkpress Backlight film 7 mil
Inkpress Clear Film
Inkpress Transparency Film 7 mil
Inkpress White Gloss Film 7 mil
Jacquard Solar Fast Film 4 mil
Oriental Graphica Inkjet Film Japan
Pictorica Premium OHP Transparency Film 5.2 mil Japan
Pictorica ultra Premium OHP Transparency Film 5.7 mil Japan
Here are a few of my photos that were lost in the flood. The only reason I can show you these is that I had some small 2 x 4 to 3.5 x 5 inch snapshot prints of them stored at my mom’s house. I was able to recover something with a scan of the prints.


When scans are done correctly, they can yield excellent results.

The above photos show a scan of an original Eastman Kodak dye transfer print. I then made a second generation inkjet print from the scan of the dye transfer print.
I married the original dye transfer print and the second generation inkjet print and scanned them to show comparison results. I didn’t use a high priced scanner or printer to do the tests. I used a consumer model Canon printer from Wal-Mart costing about $80 and a $200 Epson scanner.
Now, no scan is as good as the original. But, you can see for yourself, it is hard to tell which is the original dye transfer scan and which is the scan of inkjet copy print made from the dye transfer print.
Top Photograph – Dye Transfer original is on the bottom half.
Bottom Photograph – Dye Transfer original print is on the right side.
This test tells us 2 things:
1) Scans can recover about 90% of the image quality from an original.
2) Inkjet printers can equal or surpass Eastman Kodak’s dye transfer process when it comes to image quality. (In addition, dye stability tests I’ve run show pigmented inkjet prints will outlast an Eastman Kodak dye transfer print when it comes to dye stability by leaps and bounds.)
For the dye stability tests photos in this post, I cut or masked the media in half. One half of the media was put in sunlight for 6 months. The other half was stored in total darkness. After 6 months of sun, the 2 halves were married and scanned. The half exposed to the sun was marked with an ‘S’. The half stored in the dark was marked with a ‘D’.

Test results show Eastman Kodak’s dye transfer prints to have very poor dye stability when exposed to light. But they do have good dark storage dye stability. The oldest know dye transfer I’ve come across is about 80 years old and still looked good. But when it comes to dye stability, the king is the pigmented ink jet and laser print, possibly surpassed only by the old Cibachrome prints.
Dye transfer prints shown are by: Dean Child, US Color Print Portland, OR
Below is a metal print on aluminum, something that is very popular nowadays. The sky faded a good deal after 6 month of sun.


Below is an Epson inkjet print exposed to 1 year of sun with no noticeable fading. I use a lot of gloss optimizer in my printing and wondered about its archival characteristics. I decided on giving Epson’s gloss optimizer a 1 year stress test.
Here is a quick shot of the test results with my P&S Sony.

After the 1 year test period was over I married the 2 halves for comparison. The black lines show the edges where the gloss optimizer extends. One year of sun produced no change to the gloss optimizer that could be seen with the eye. The results area also a testimony to Epson’s pigment based ink.
Here is the original digital file.

The point of fade testing is to show you that different media has different dye stability. So choose a media that is fade resistance for your master prints.
Additional testing:
http://fadetesting.tumblr.com/